A Few of My Favorite Things: Baking Bread

The autumnal weather has been somewhat reluctant to arrive here in Tennessee this year, but thankfully we seem to be stepping into Fall. Finally. And with the cooler climes come a host of pastimes I’m happy to be embracing, particularly this year. Maybe it’s because I’m nesting. Maybe not. But regardless, I find myself in the kitchen a great deal more than have I been throughout the summer months.

One of the things I’m doing with regularity (at least three times a week) is baking bread. While our family is not into store bought breads, we do consume homemade bread like it’s going out of style. And considering how infrequently I fire up our oven to make it throughout the summer, when I start breaking out the flour and yeast in September, the bread loaves go quickly.
When most people think of bread, they think of hours of prep time. There’s the headache of making sure your water temperature is correct when you mix in the yeast so that you don’t kill those vital microorganisms that give your bread the lift it needs. Then there’s the mixing and kneading, which can be quite an arduous process. (I happen to thoroughly enjoy this part, but I can see how many could find kneading a hunk of dough for 15 minutes tedious.) Then there’s the rising. Do you use a proofing oven? Can you just use a warming oven? Or should you just find a warmer place in your kitchen? How long do you let it rise? Then, depending on the bread recipe, you get the joy of kneading that much larger hunk of dough yet again. And then letting it rise. Again. Honestly, by the time you get to bake it, you’re done. You might not even like bread anymore. (I’m kidding. It would take much more than a little kneading and time to put me off bread for good, but I digress…)
While I have plenty of bread recipes that call for all these necessary steps, the staple recipe in my household cuts out all of that busy work. Honestly. Not an exaggeration at all. The bread I make the most is called No-Knead Crusty Bread- well, at least, that’s what I call it. And, as the name suggests, you don’t have to knead the dough. Not once. Not ever.
The only major necessity for this recipe to be a success is the investment in a Dutch Oven.
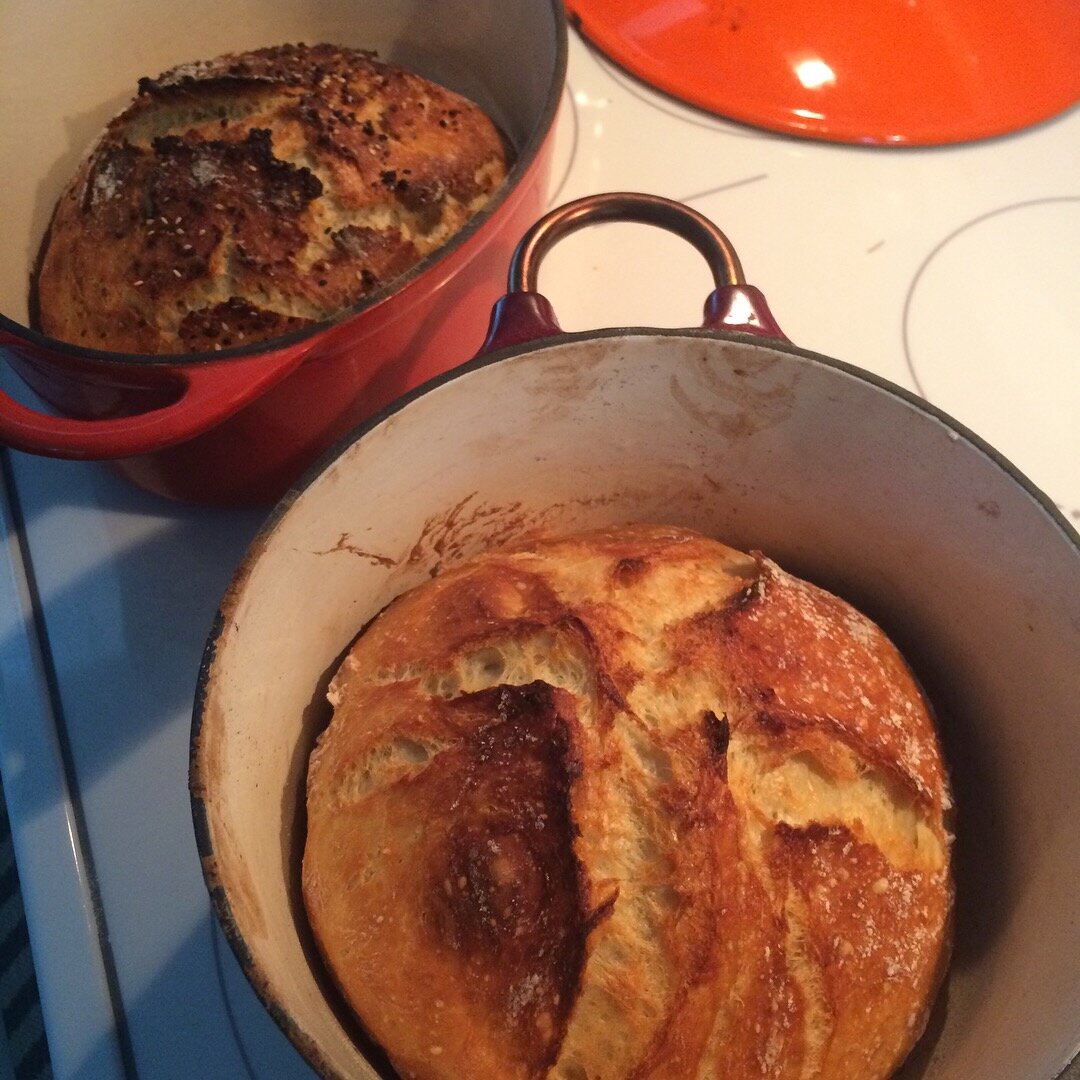
While Le Creuset may have cornered the market on Dutch Ovens, there a variety of much less expensive options out there. I have several Dutch Ovens in a variety of sizes and from different makers, and each one works excellent for this recipe. I’ve used Rachel Ray, Cuisinart, Tramontina, and ???. They’ve all worked well for this recipe. I tend to grab my oval 5-quart Dutch Oven the most when I’m making this bread as I like how it shapes the bread in an oval, but a round 4-quart Dutch Oven works perfectly well. I’ve used both with great success.
Now, on to making the dough.
The ingredients are simple. Four cups of all-purpose unbleached flour, one teaspoon of active dry yeast*, three and a half teaspoons of sea salt, and two cups of lukewarm water. That’s it.
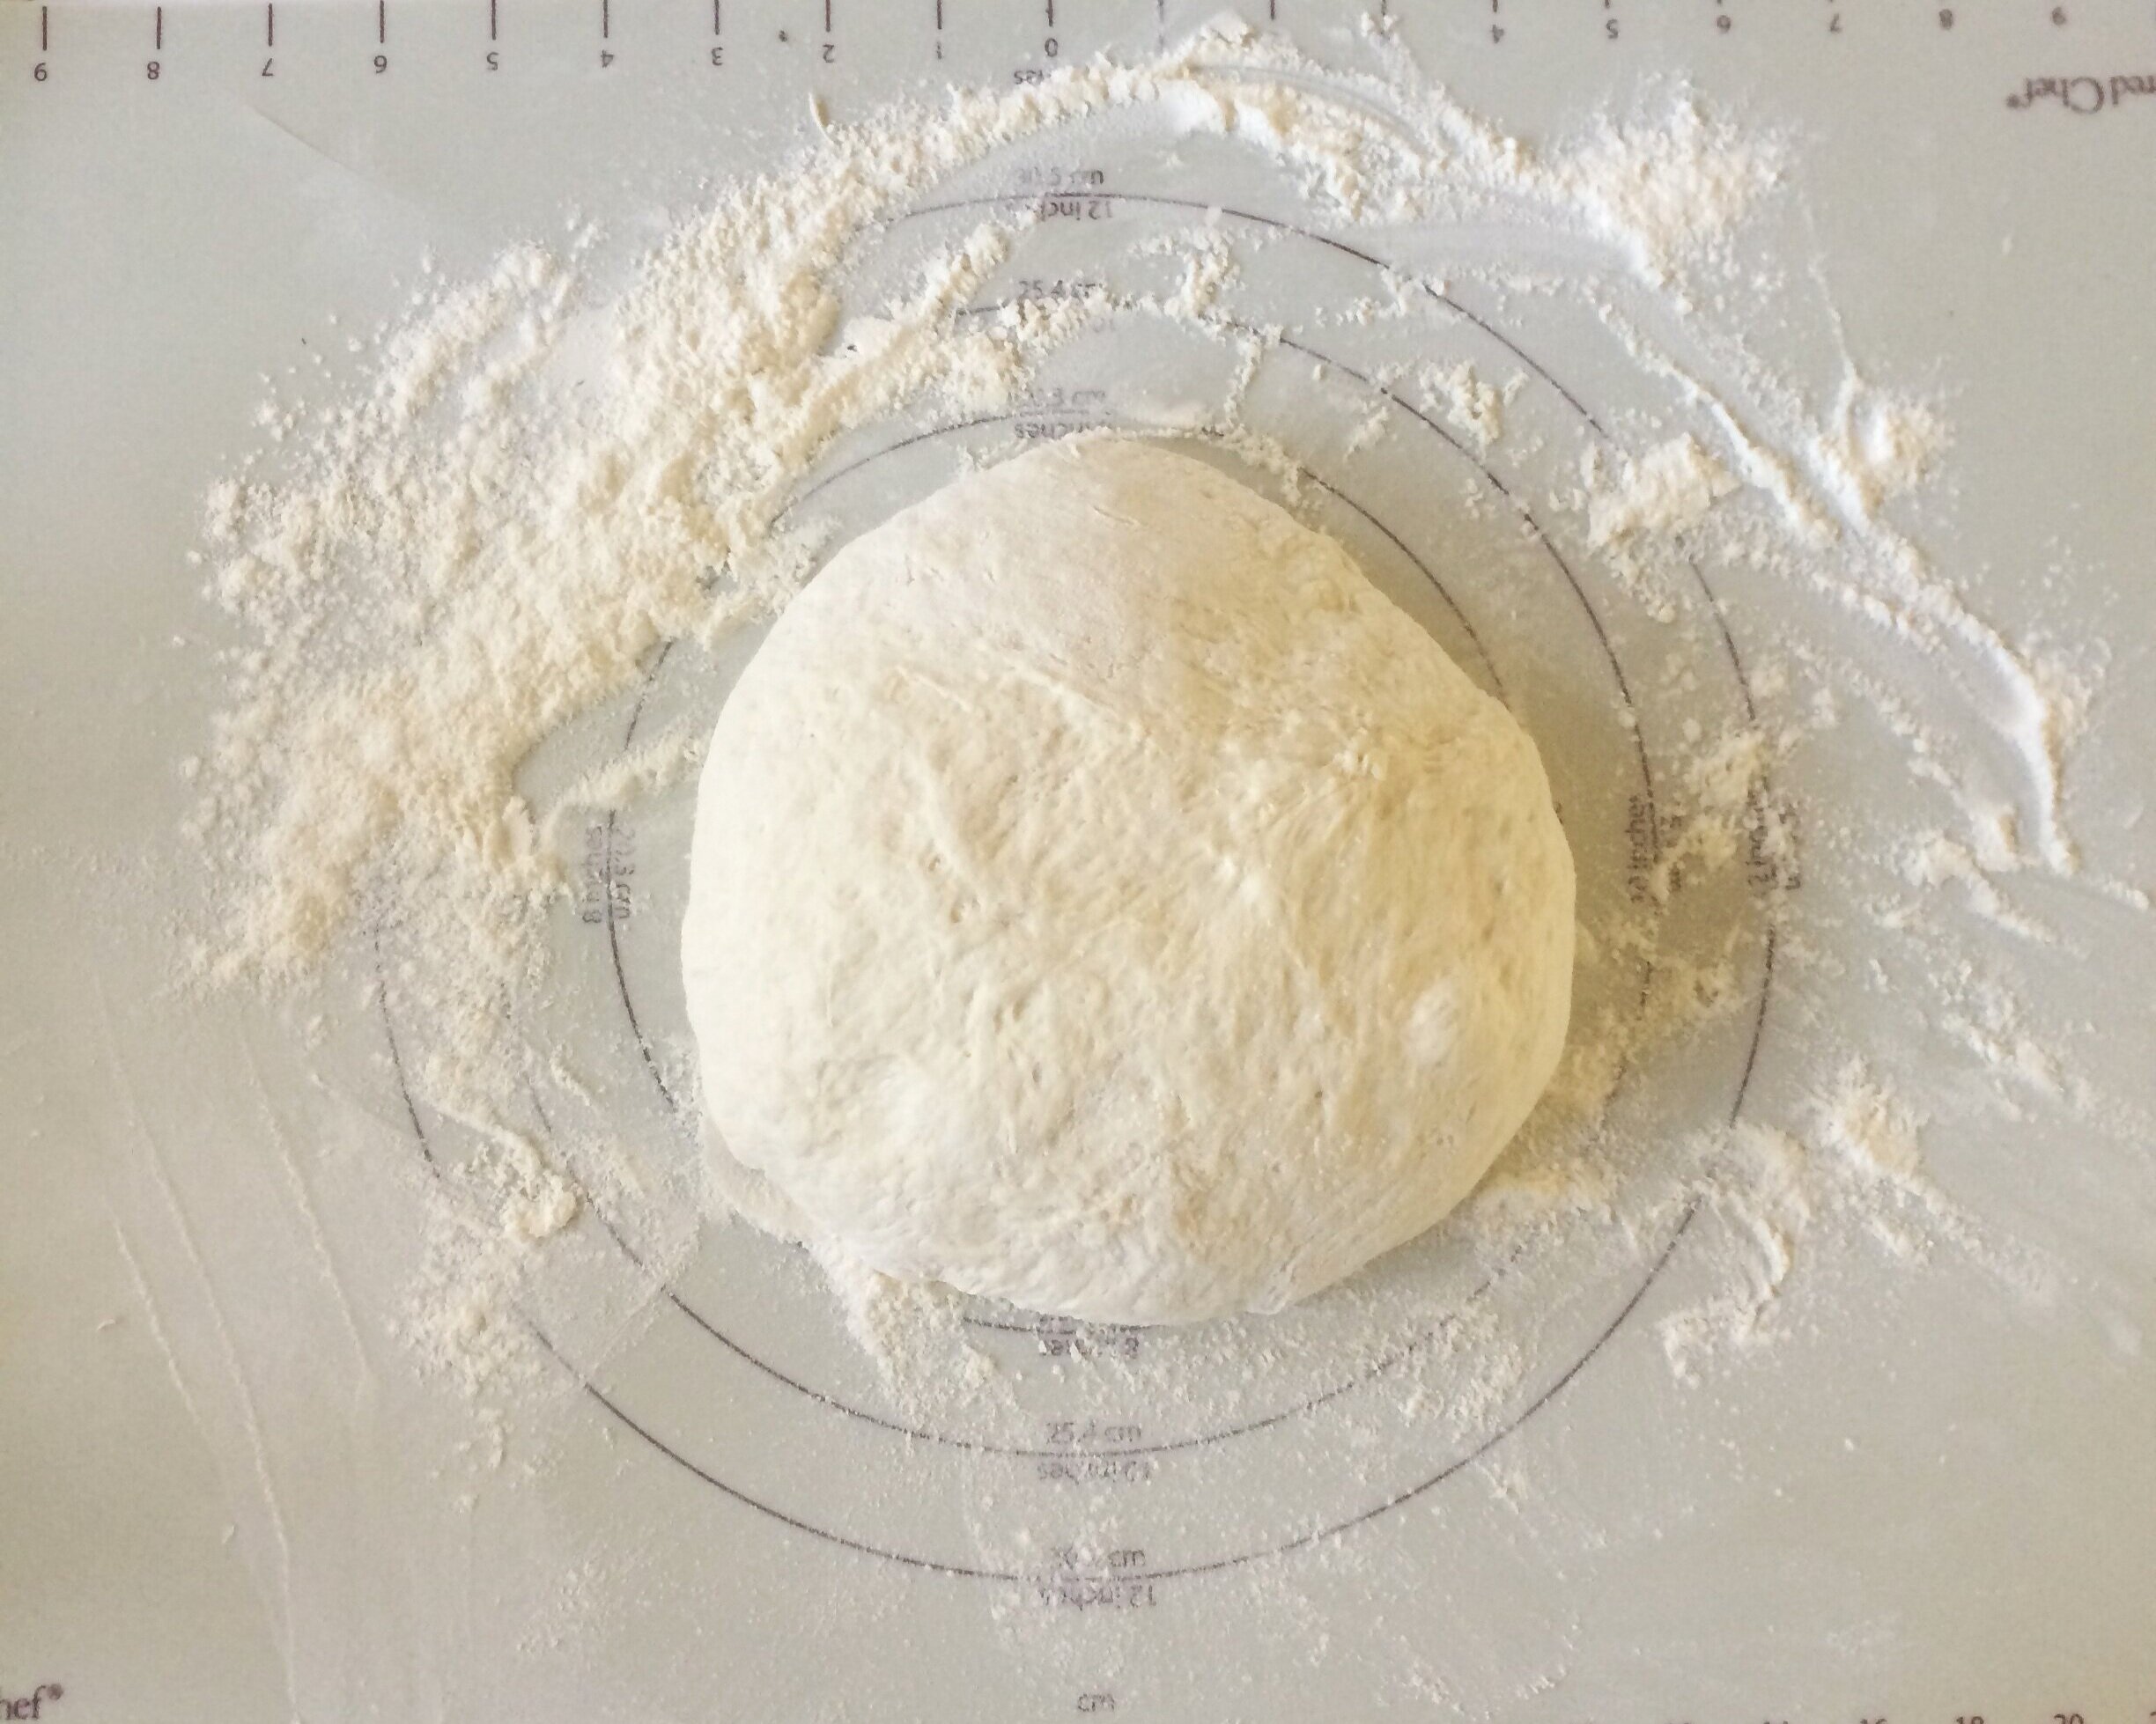
In a large bowl, I measure out four cups of flour, making sure each cup measurement is flush with the top of the measuring cup. Then, as I learning watching Paul Hollywood’s superb technique, I add the yeast to one side of the bowl and the salt to the other. With a wooden spoon- my go-to cooking implement- I mix the salt on one side and the yeast on the other before giving the flour mix a good stirring to combine everything. Then, I make a well in the middle of the flour mix and add the water. This is where the wooden spoon really comes in handy as the dough is a tad tough to mix. You really need to put some muscle into it.

Stir until all the flour mixture and water are thoroughly combines and the dough forms a ball in the bottom of your bowl. Then cover the bowl with cling wrap and set in a warm place in your kitchen. We tend to keep our house on the cooler side, so I place the bowl on the stovetop as it’s one of the warmer places in my kitchen. Sometimes I even put a dishtowel over the bowl, too, to make it feel more cozy as it rises.
Now you just let it alone for 10-12 hours. You don’t touch it. You just leave it there to do its thing. I usually make this dough after dinner clean-up, which allows for it to rise overnight and be baked fresh in the morning. The best part of waking up may have been Folgers in your cup, but nothing rivals the aroma of fresh baked bread in the A. M.

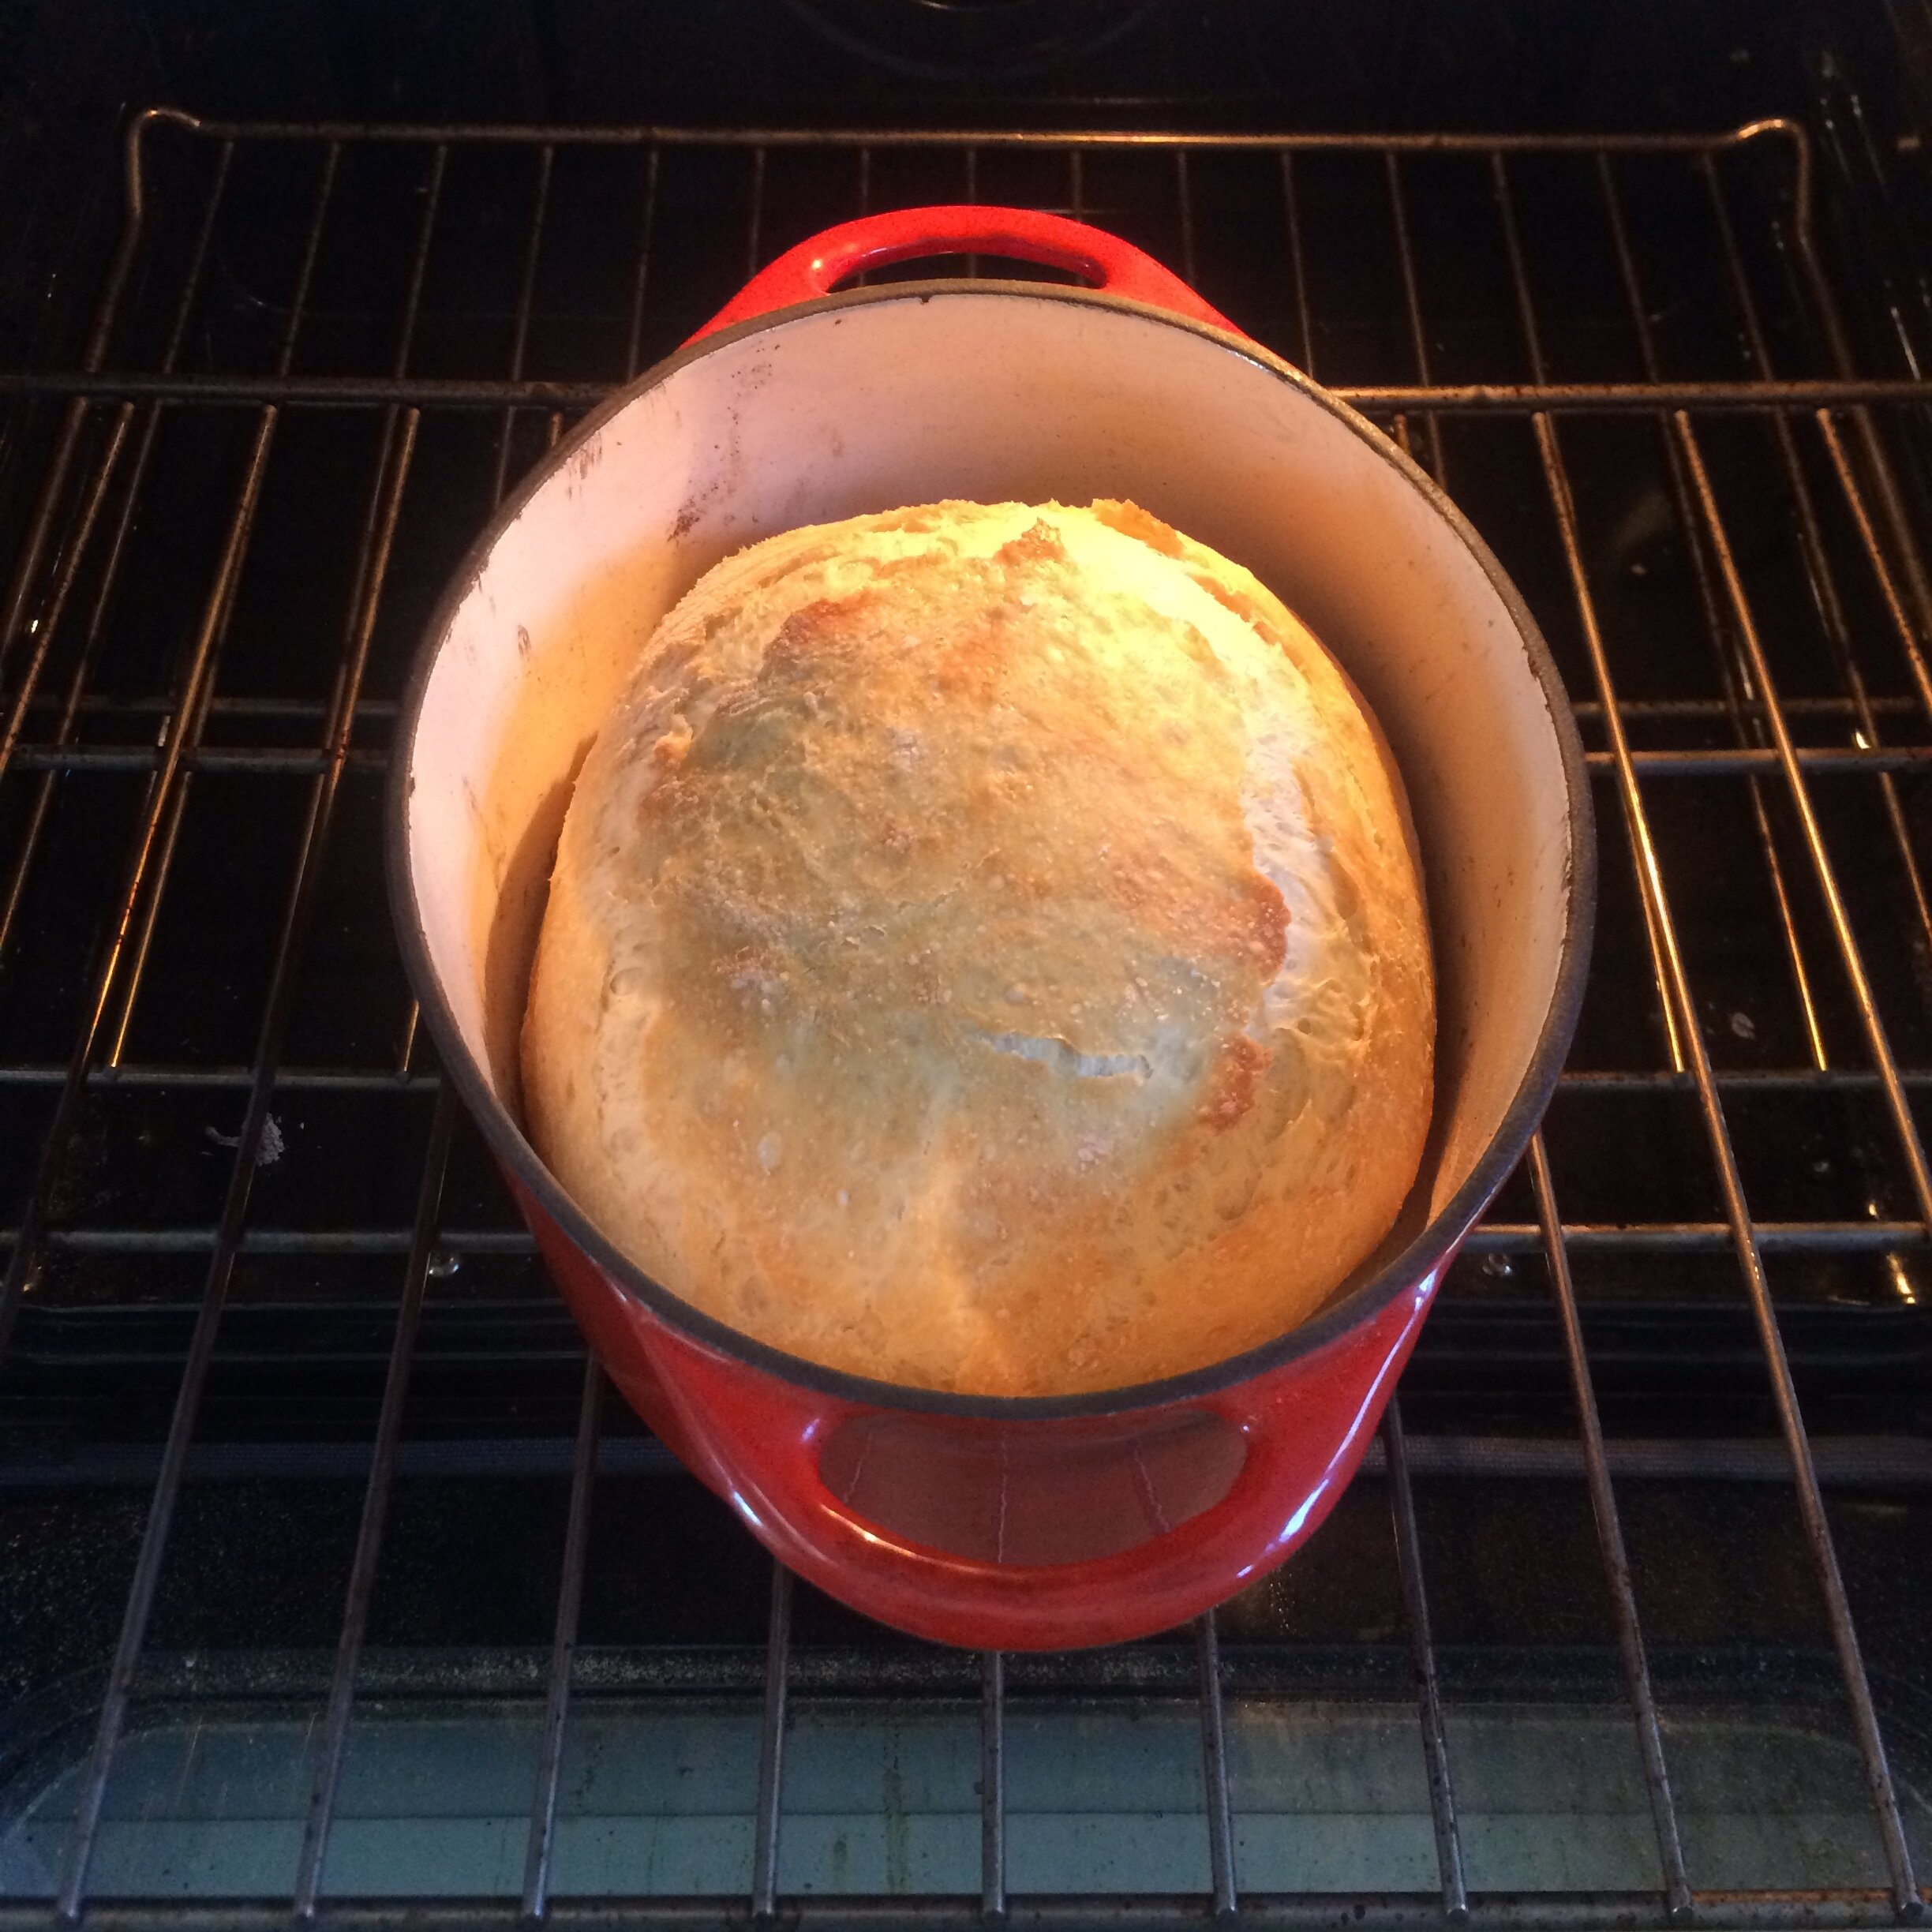
Once the dough is risen, place your Dutch Oven in a cold oven with the lid on it and preheat the oven to 450º. While the oven is preheating, flour a flat surface. I have a Pampered Chef pastry mat I love for this part, but a silicone baking mat works well as does a sheet of parchment paper. Turn out the dough on the floured surface and, with floured hands, shape into a ball. If the oven isn’t done preheating, I tend to cover the dough with the cling wrap while it waits.
Once the oven is preheated, take out the Dutch Oven and remove the lid. Carefully lift the dough and drop it into the Dutch Oven. Replace the lid. Return to the oven and bake with the lid on for 30 minutes. Then remove the lid and bake for another 12-15 minutes until the top of the bread is a beautiful, golden color. (I prefer to bake mine for 12 minutes rather than 15, but that’s because I know my oven. You might have a cooler oven than I do, so 15 minutes will give you the desired results.)
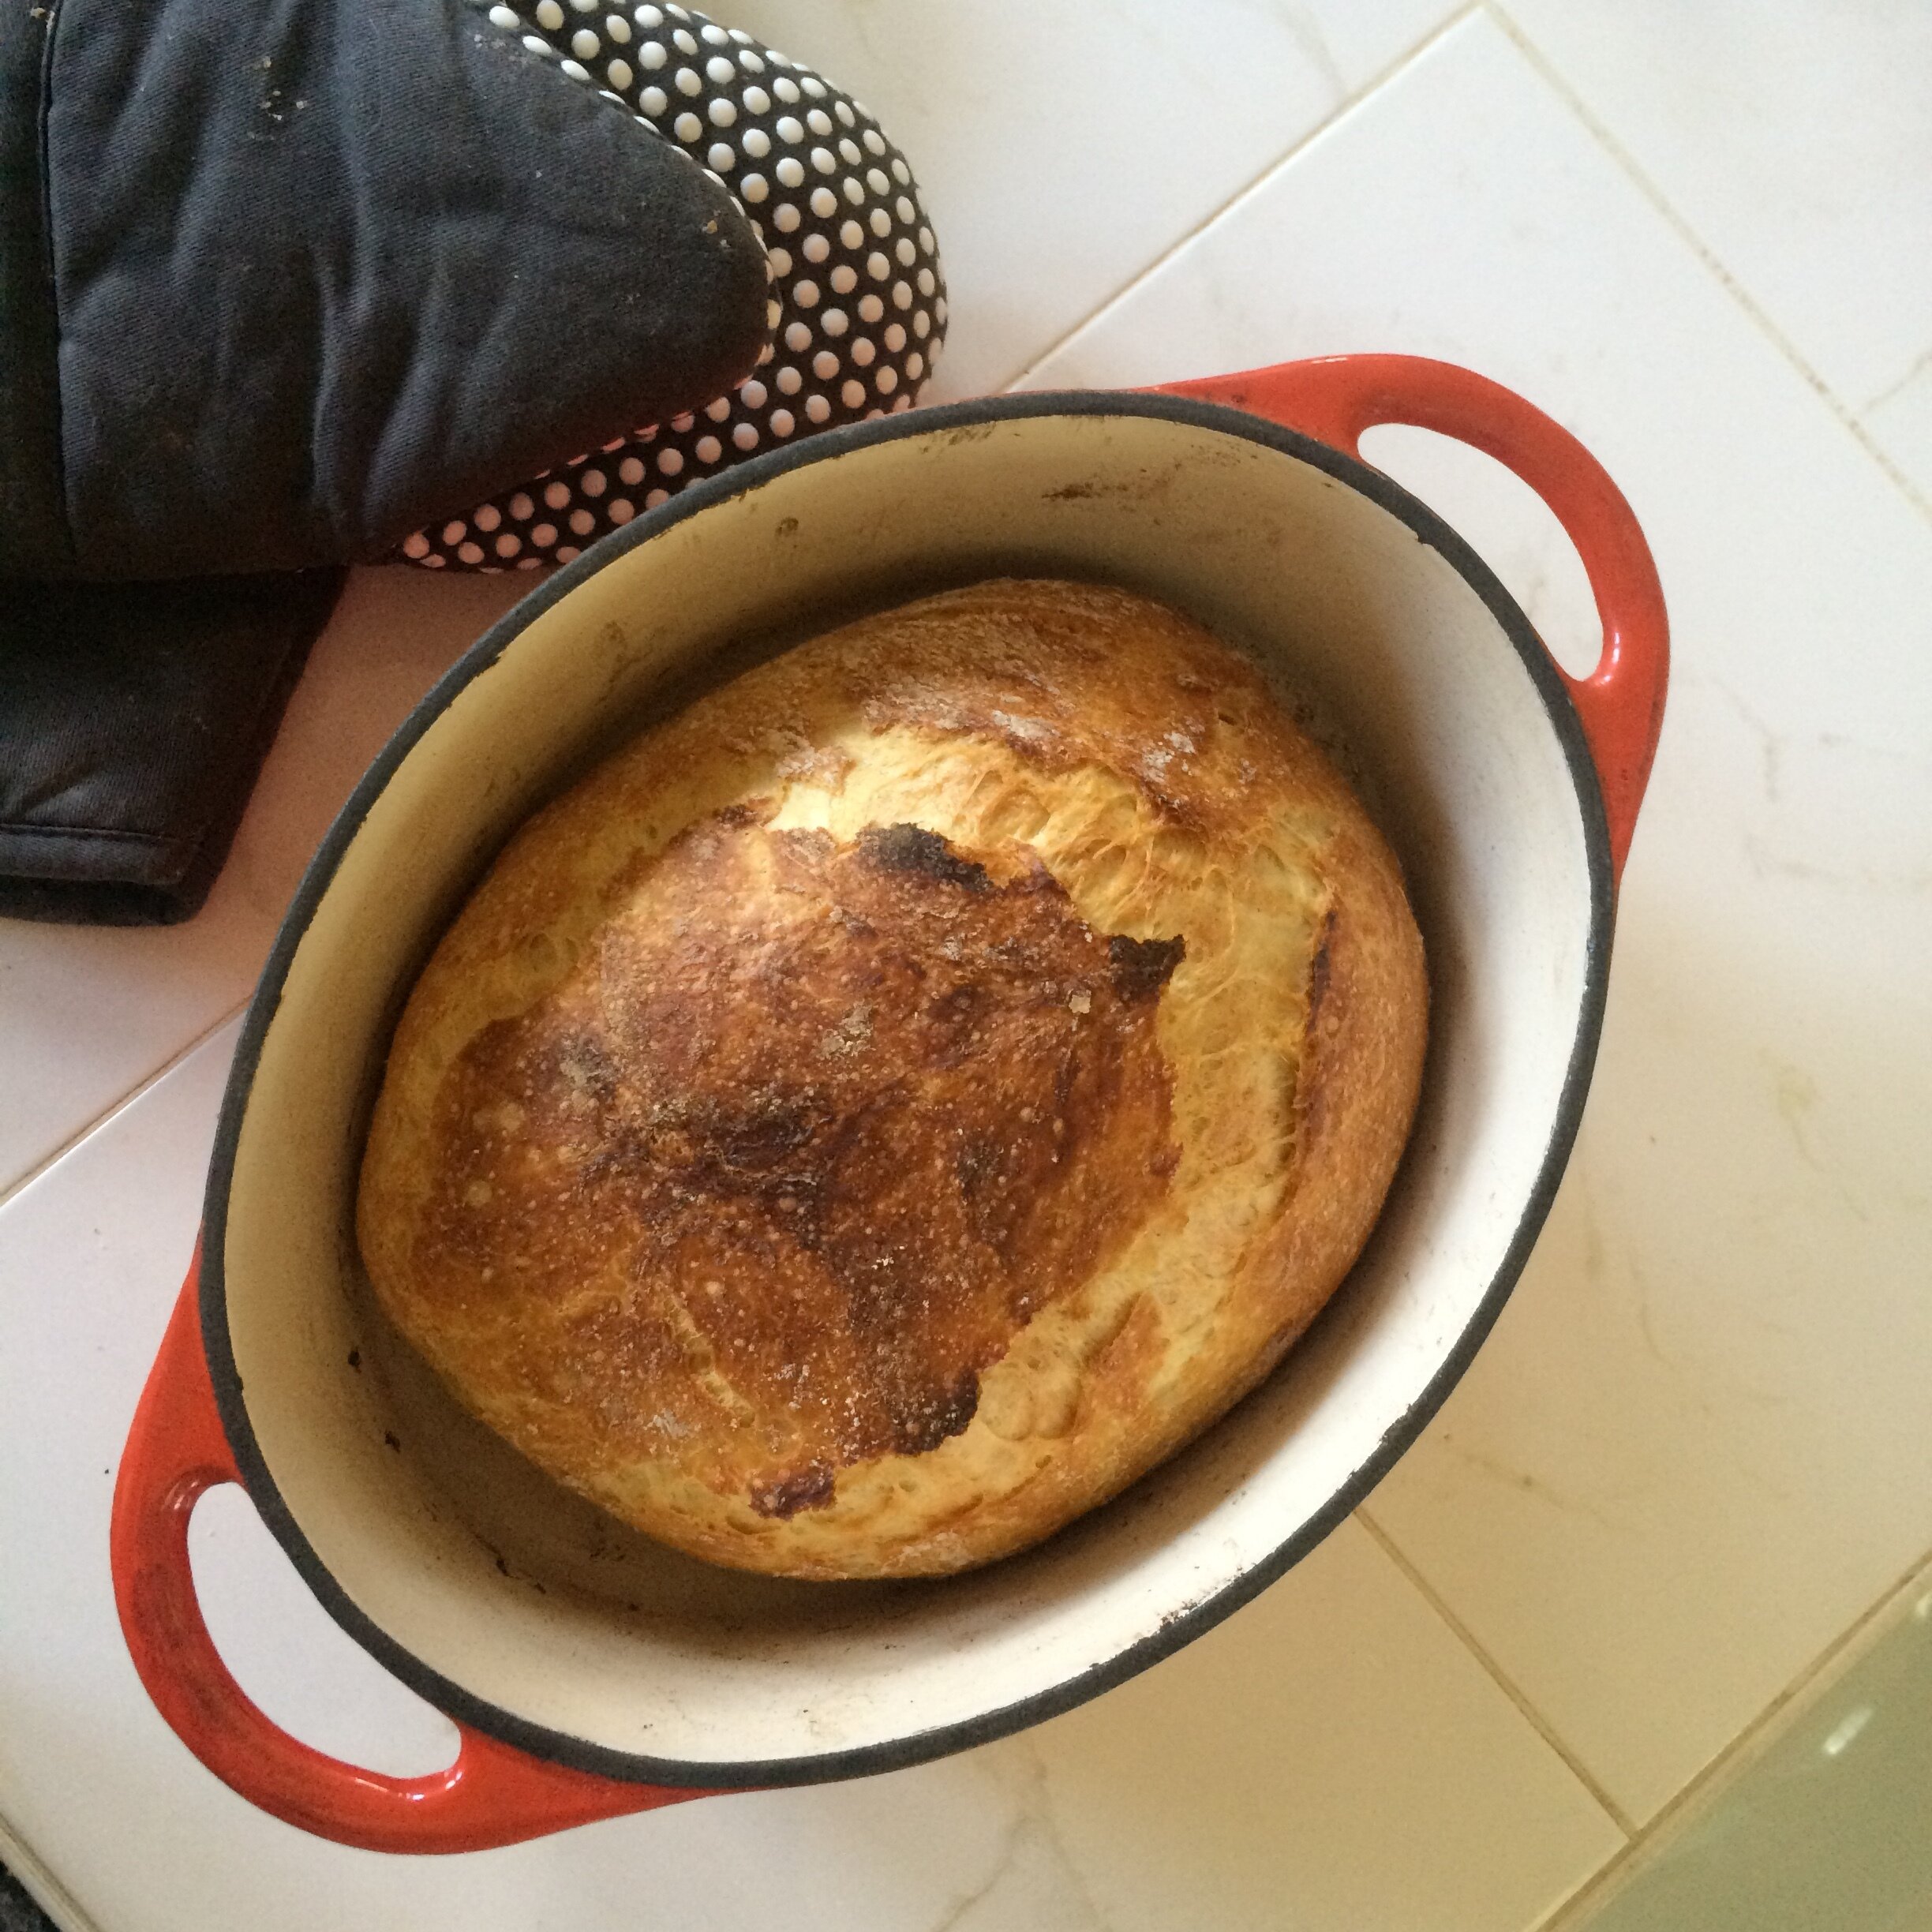
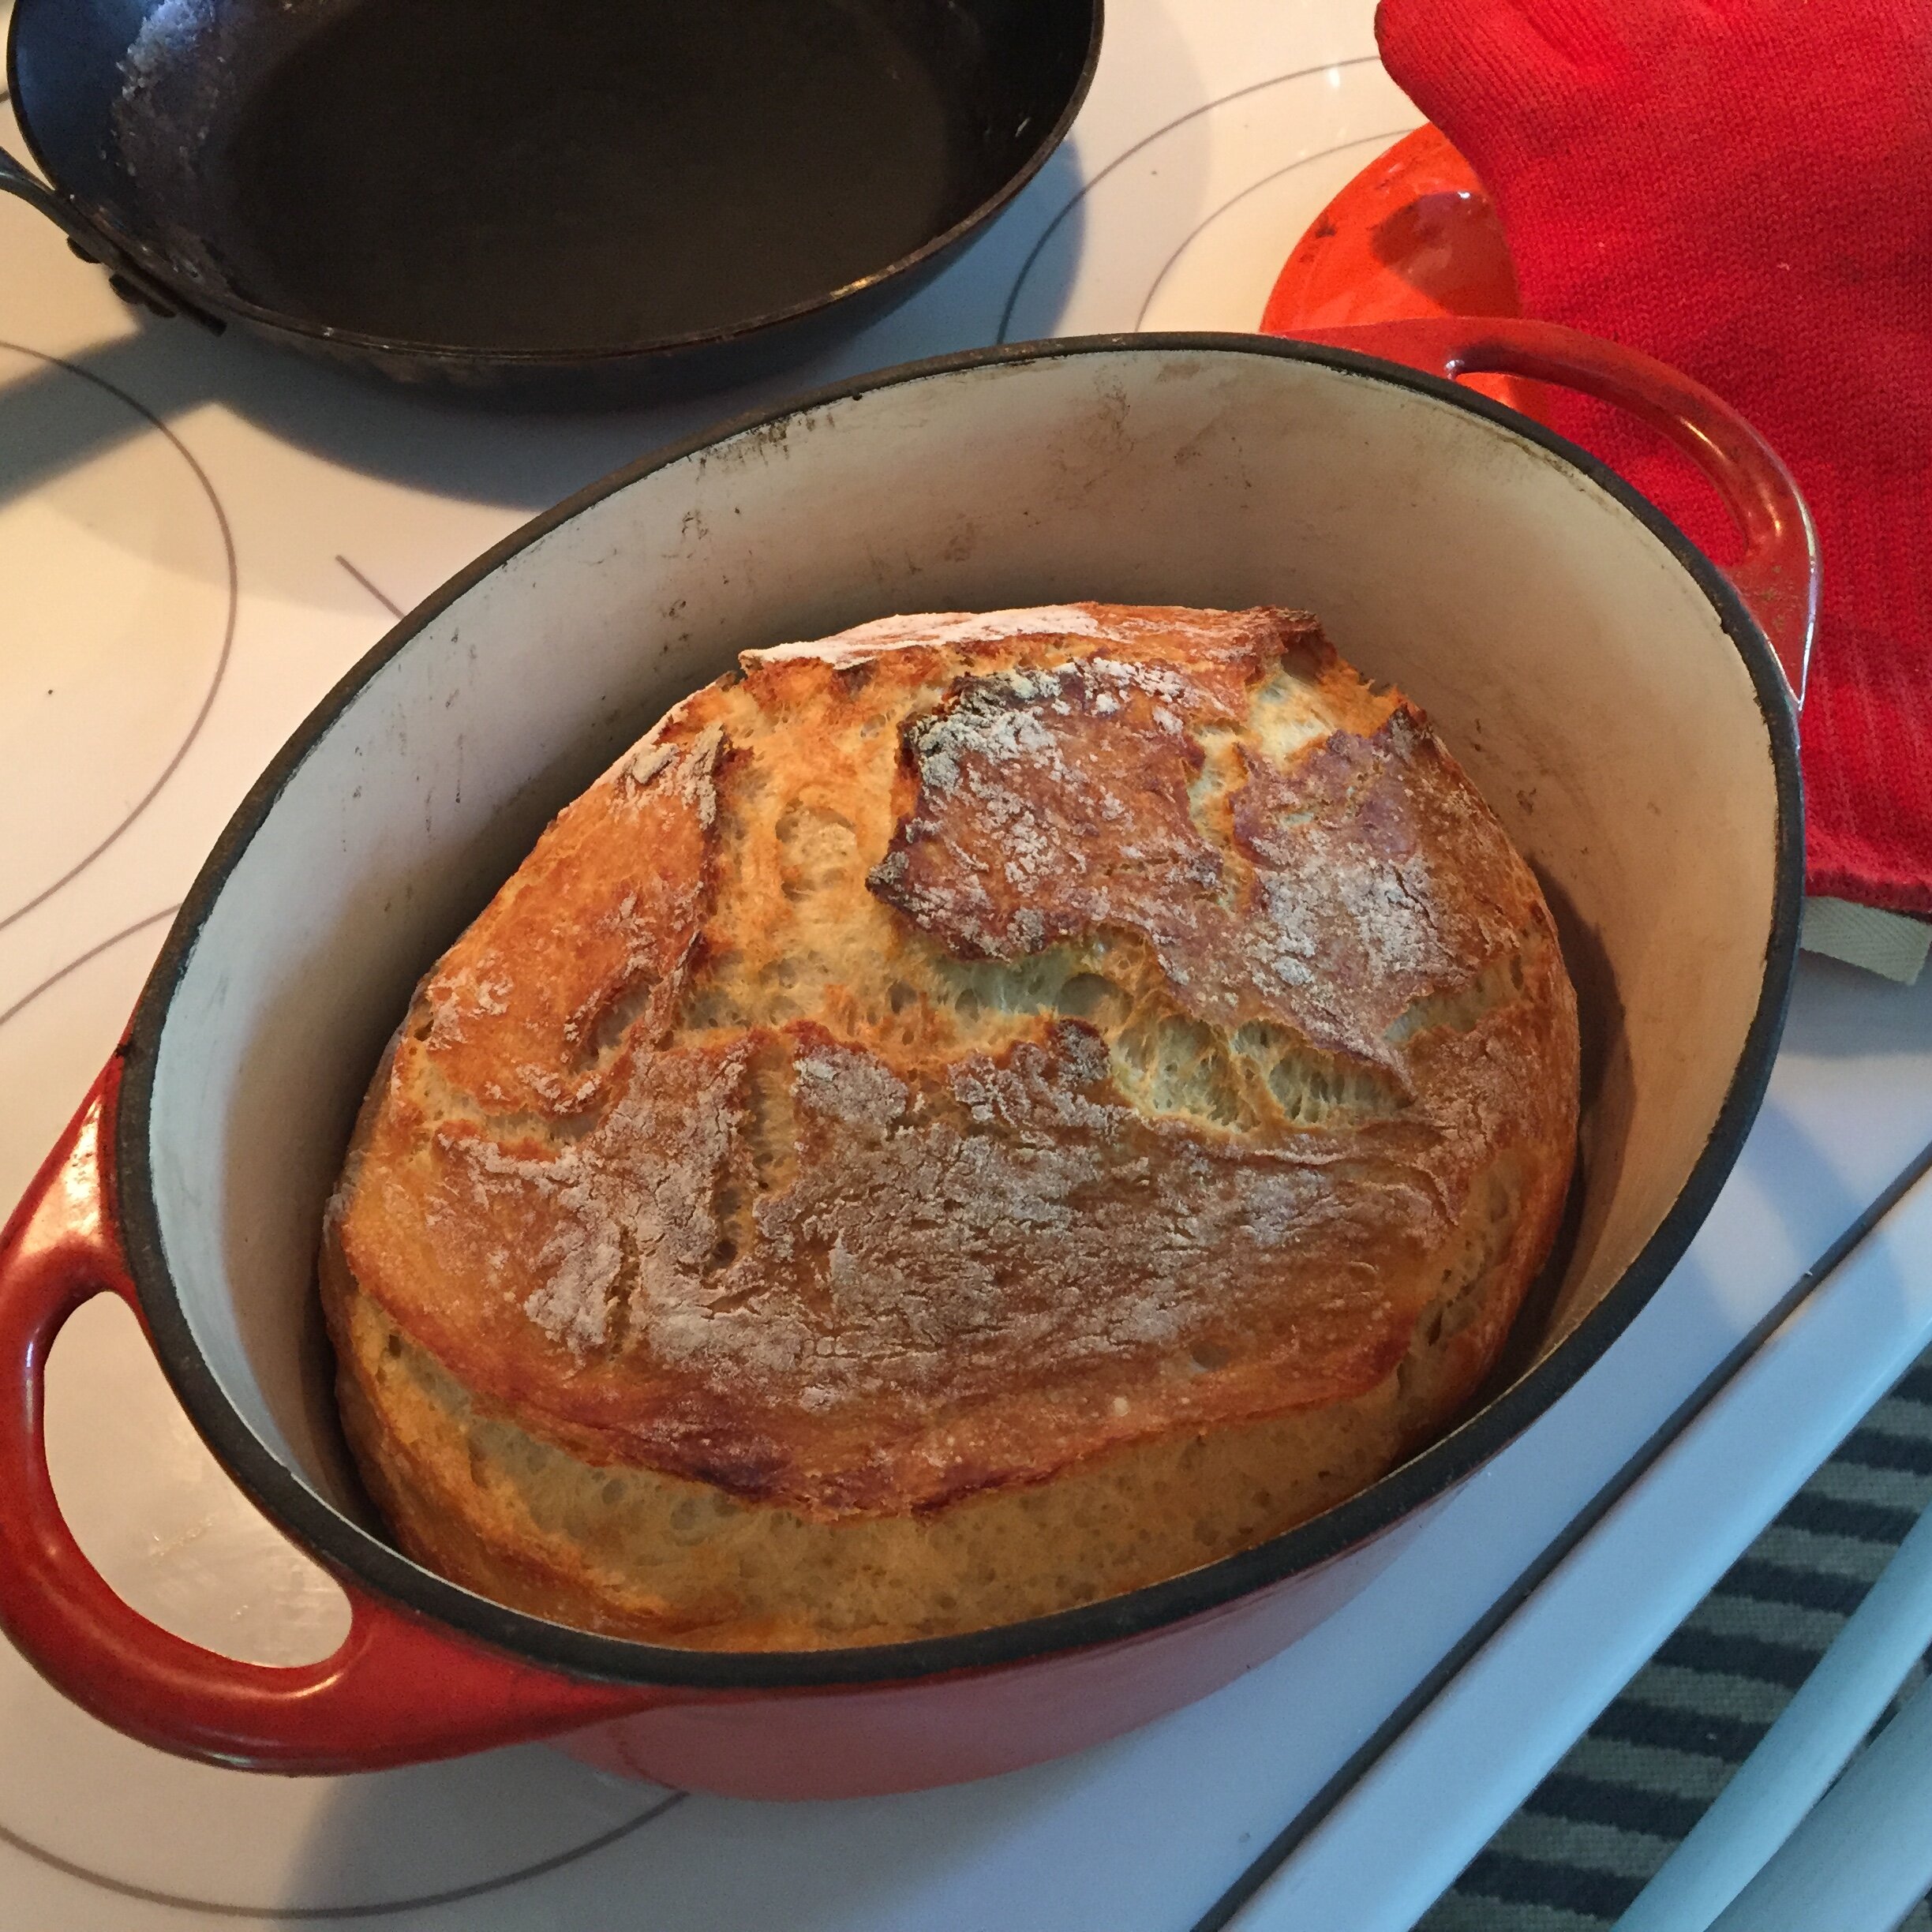
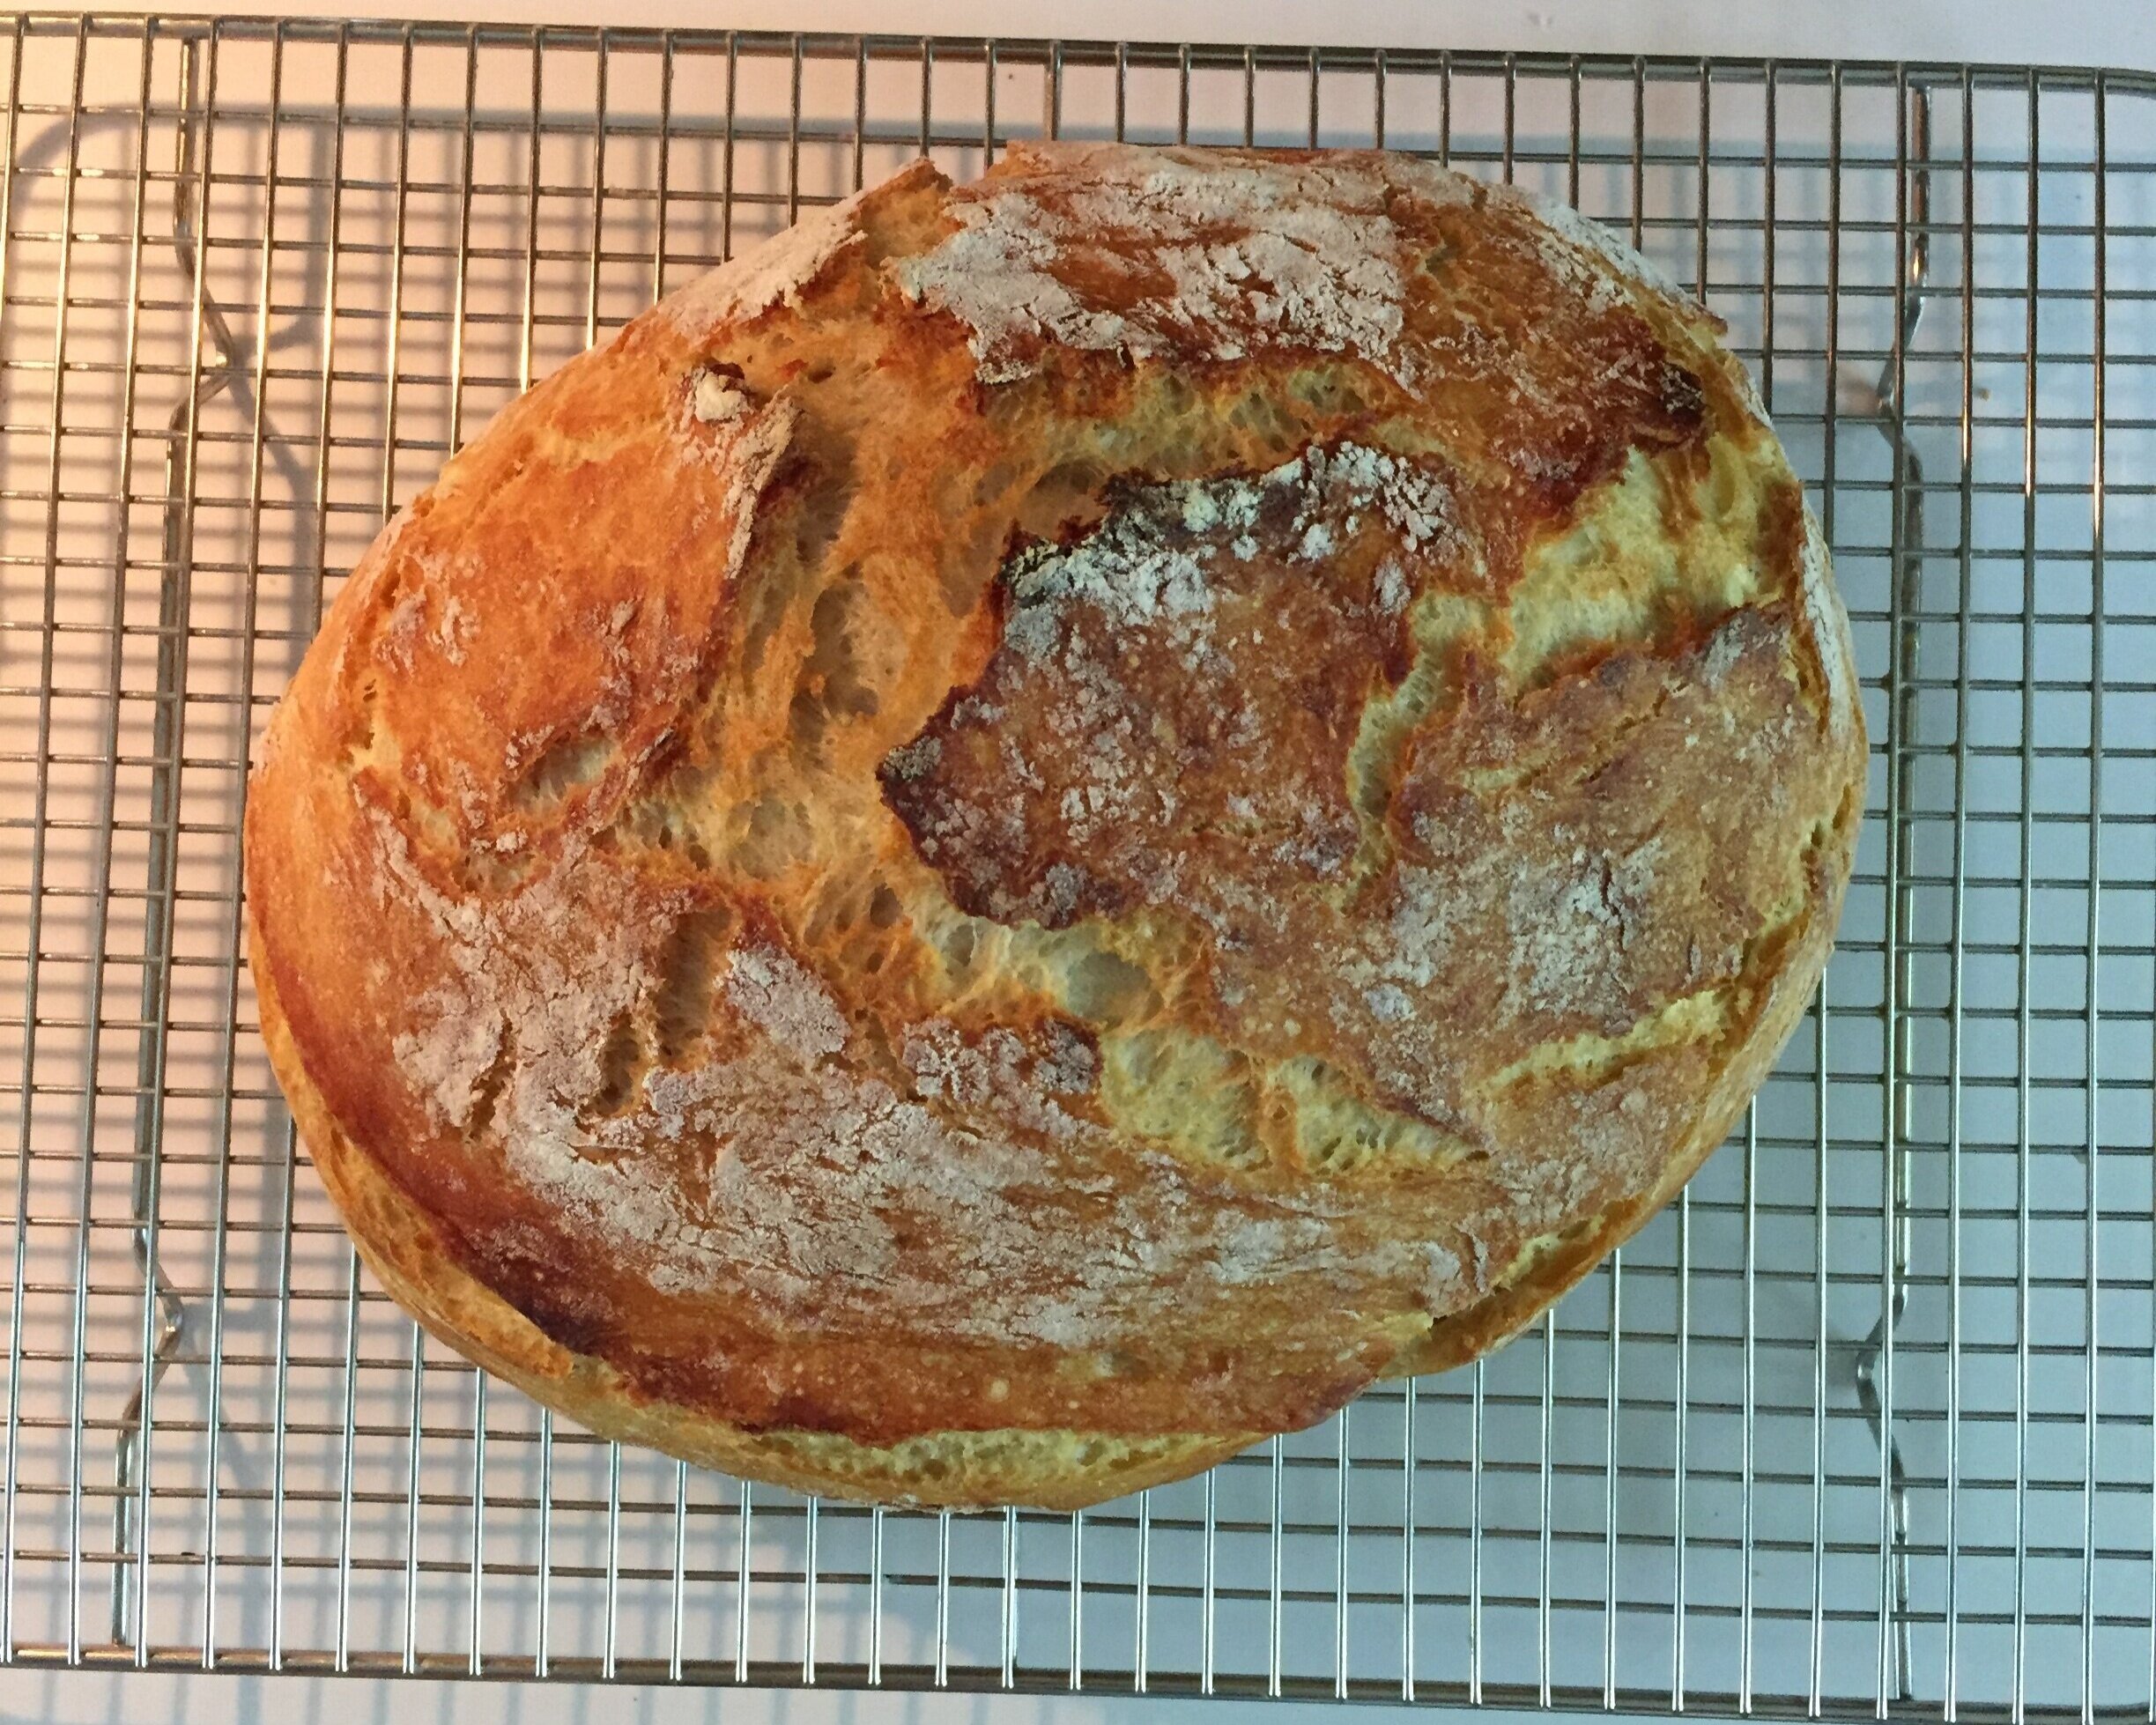
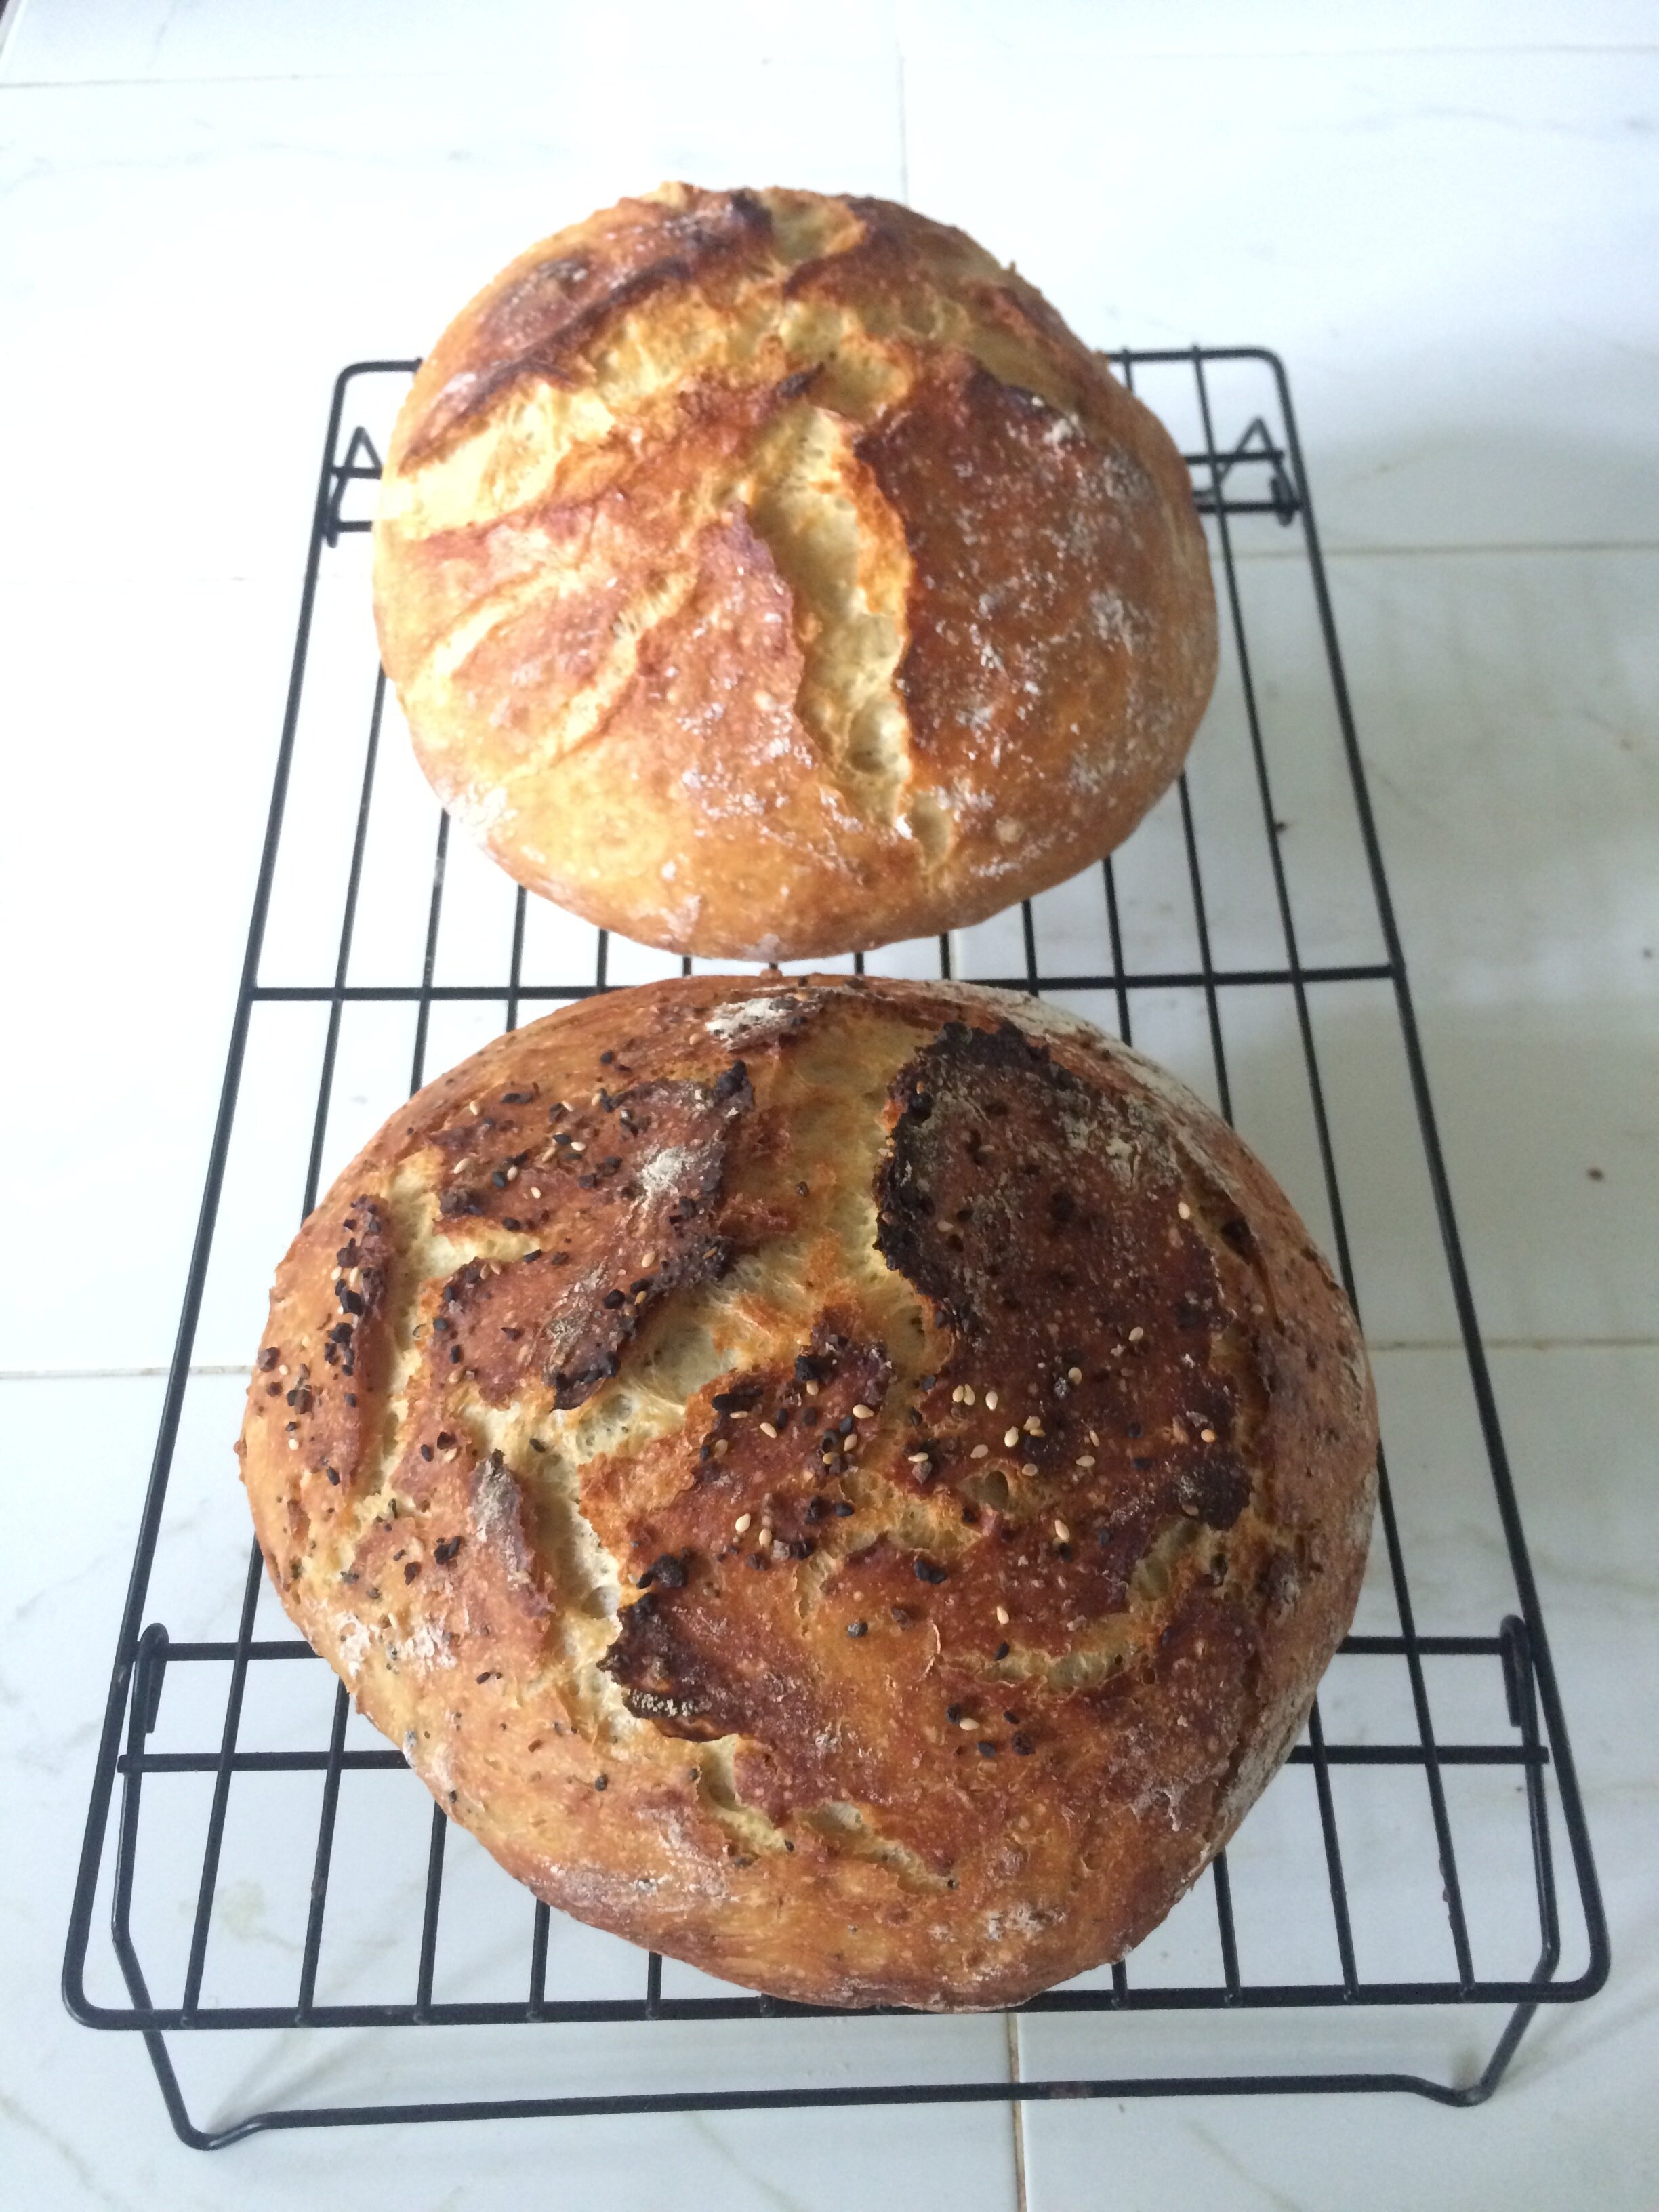
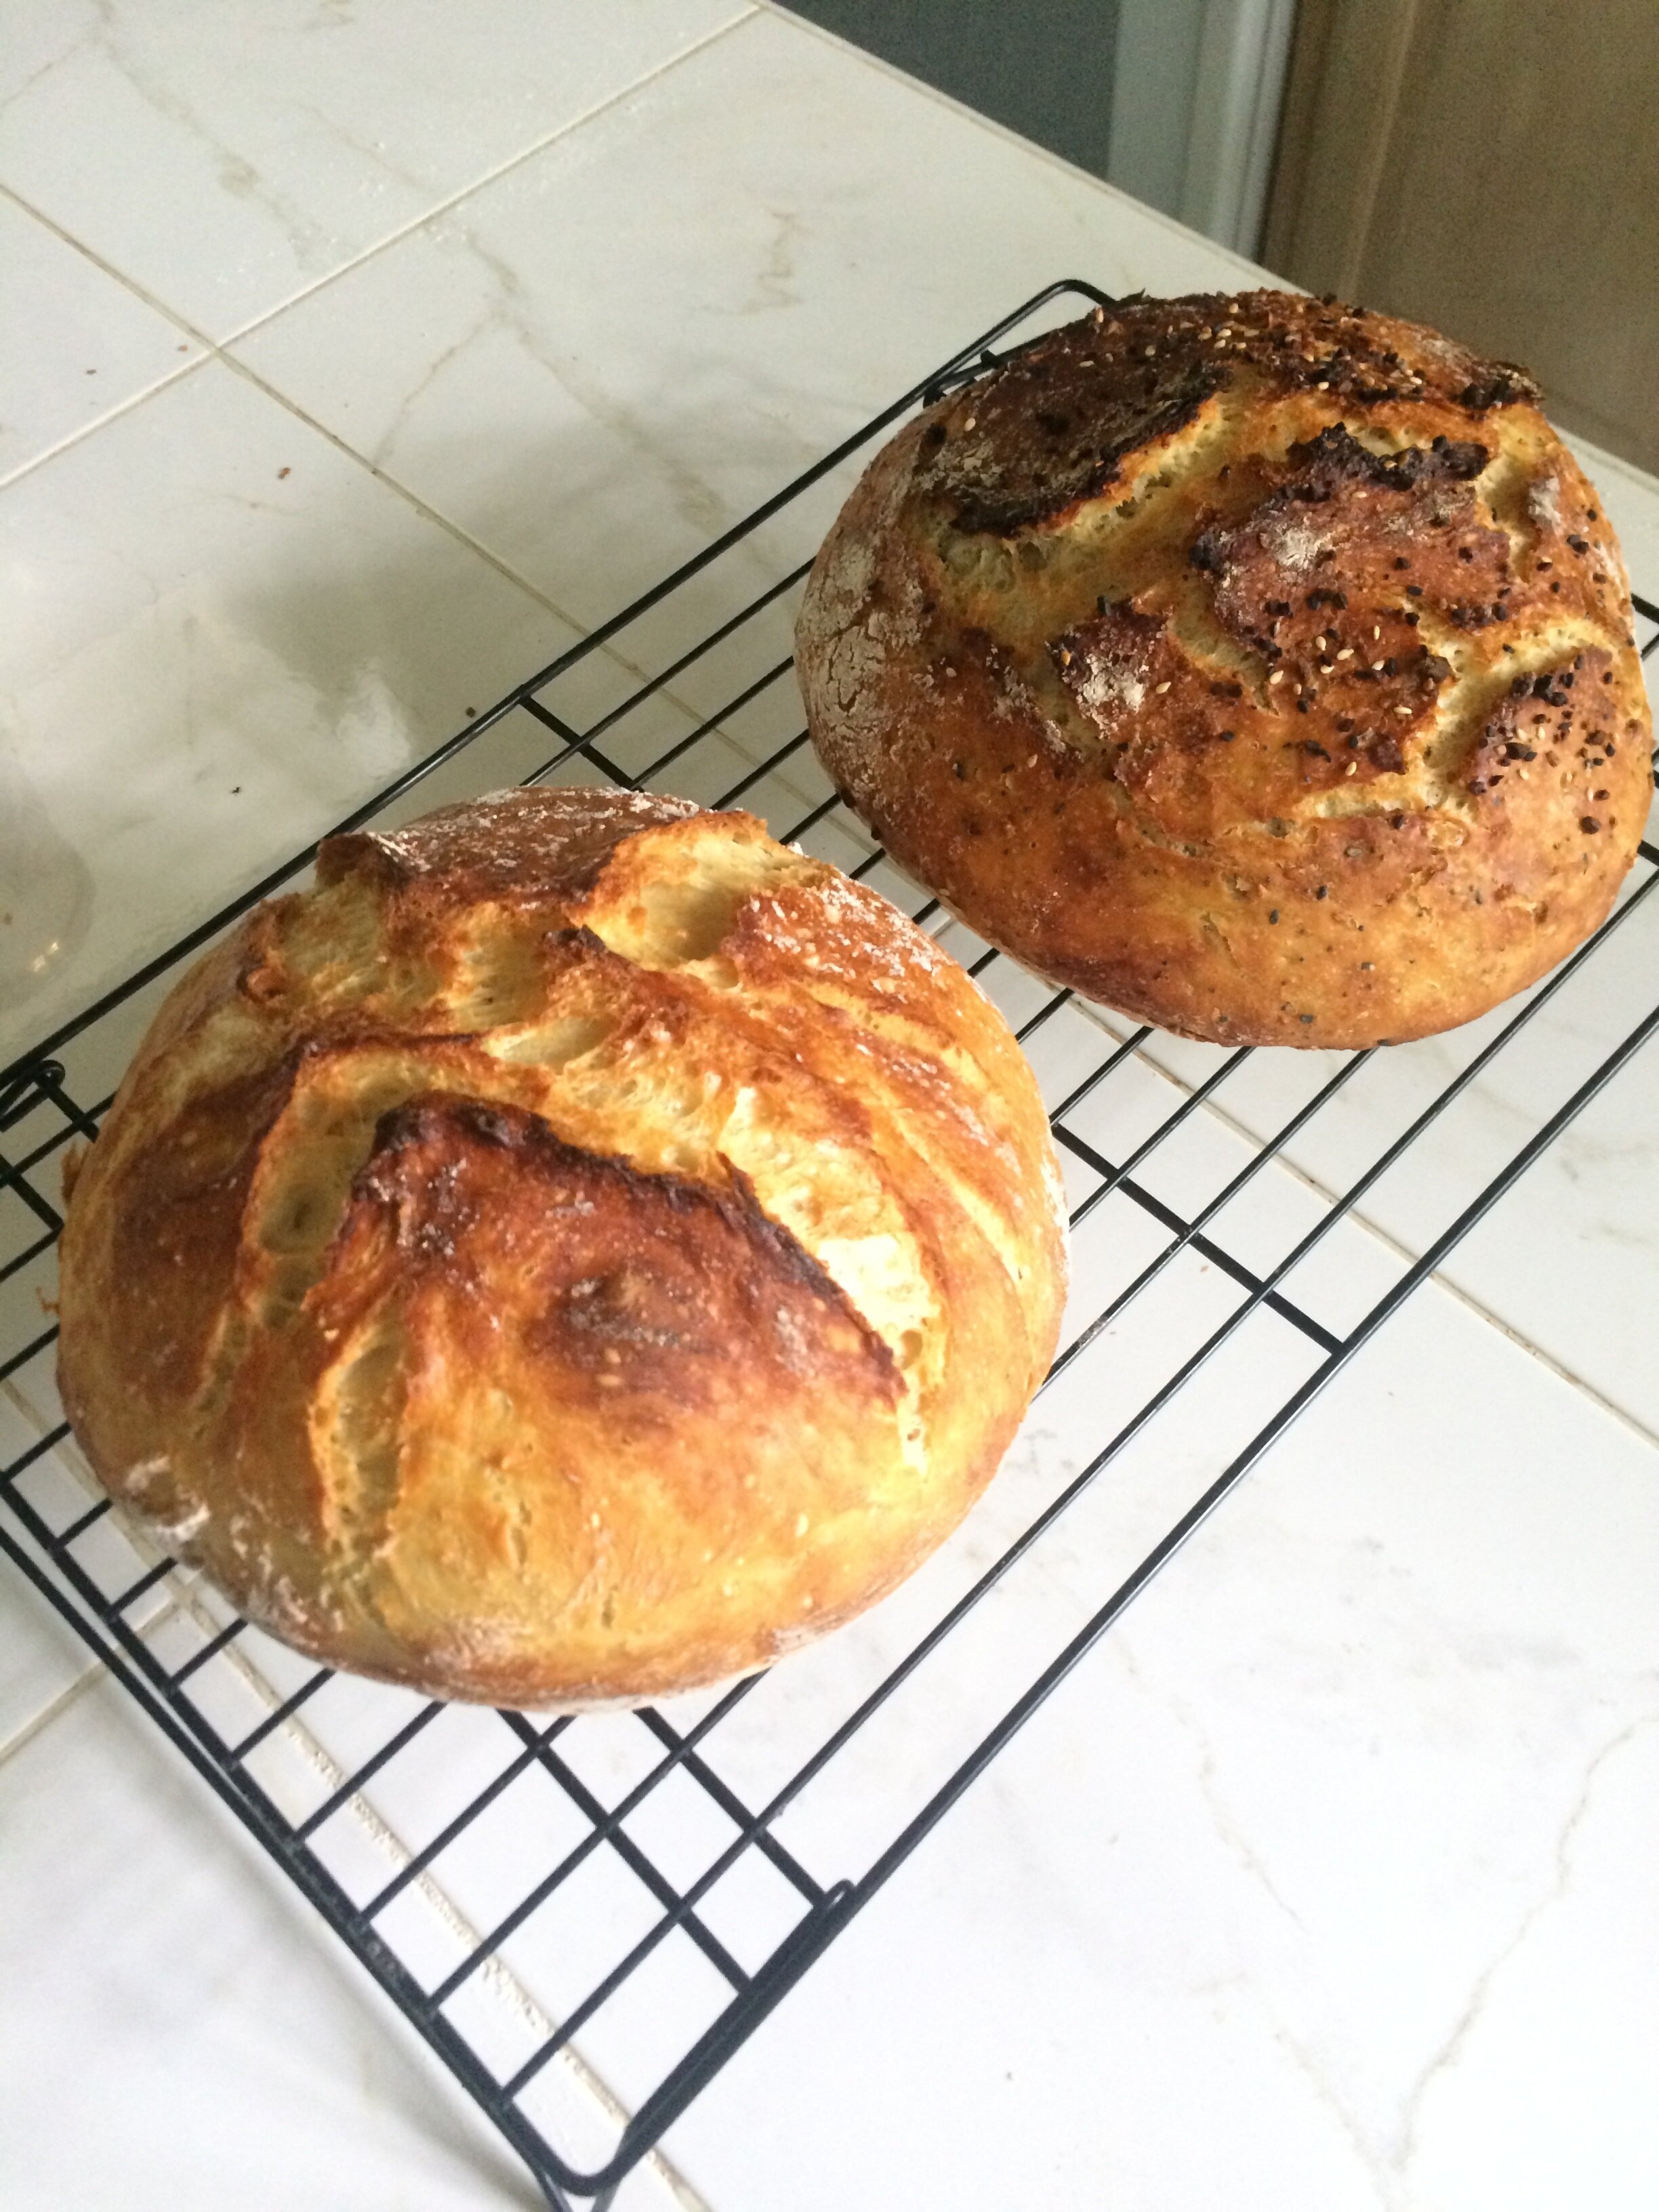
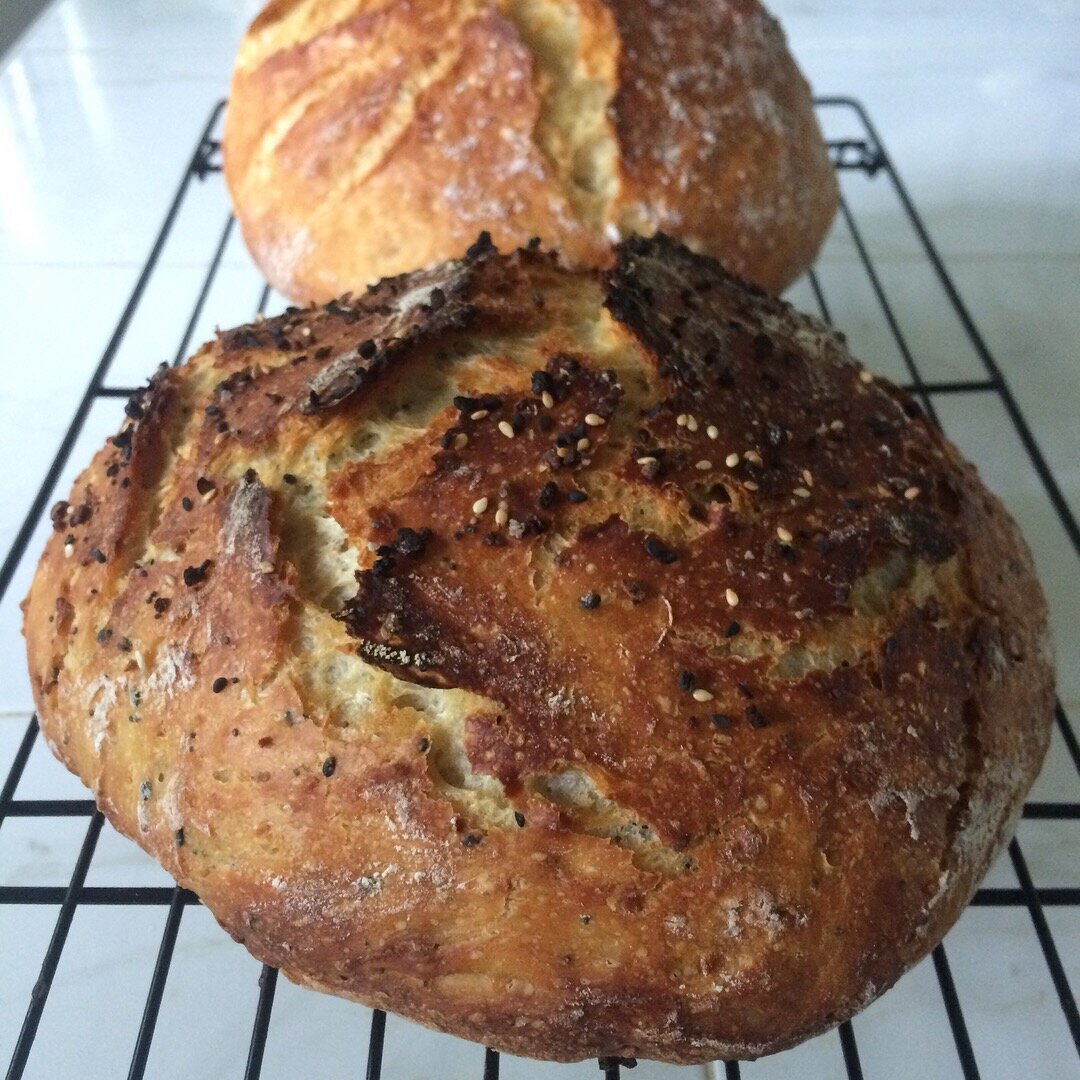
You’re almost done. When your timer goes off, remove the Dutch Oven and, making sure you have good oven mitts on, carefully turn out the bread and transfer to a cooling rack. Don’t cut into it right away as the bread is still cooking. You can actually hear it crackling on the cooling rack. But, once the bread is cooled, get your bread knife out, cut a slice, and enjoy with or without a dollop of butter. It’s so good, you’ll love it plain. I promise.

Now, I have played with the recipe over the years. One of the tried and true hacks I’ve found is replacing the dry active yeast with rapid rise yeast. This cuts the rising time in half. So, if I want a fresh loaf with dinner, I can whip up the dough after breakfast and have it baked in time to- ahem- break bread with my family in the evening.
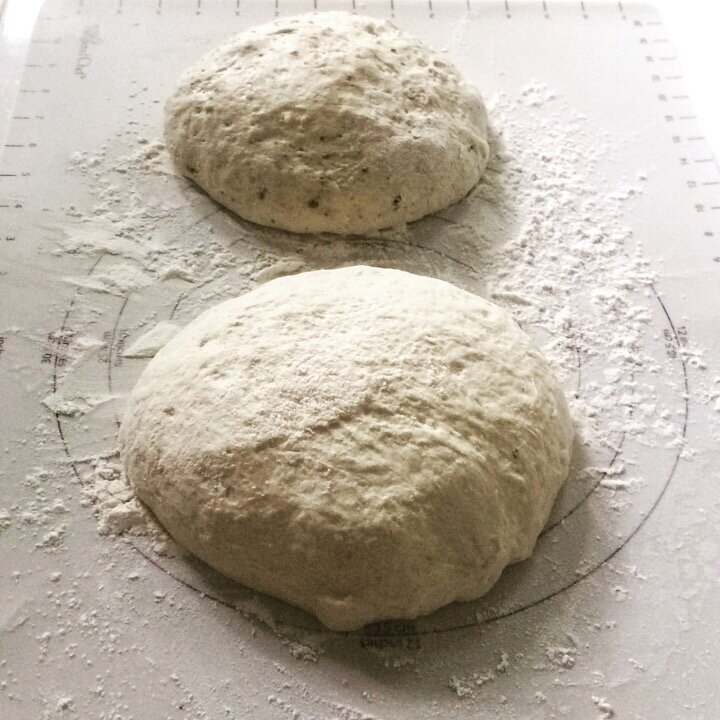
This is a simple, delicious, and beautiful loaf of bread. I’ve brought it to parties and given it as gifts. And I’ve experimented with additions, such as a medley of spices including fennel seed, coriander, and caraway to give it a rye-bread like taste. Or you can totally add a couple tablespoons of Everything But The Bagel seasoning; get it at Trader Joe’s or Costco. (If neither of those stores is near you, Savoring the Good has a great recipe to make your own.) I’ve even added two tablespoons of the Dukkah Nut and Spice Mix, too. (I make my own combining a recipe from these two recipes respectively from Two Sleevers and Tasting Table.)
If you’re looking for something more special in the No-Knead Bread zone, then please head over to The Busy Baker Blog run by Chrissie. She had created a new family favorite for our house: Cranberry Honey Walnut Artisan Bread. The recipe is a no-knead recipe, but the results will have people thinking that you spent eons in the kitchen fabricating this panem angelicus. My husband says, and I don’t think he’s joking, that it tastes like Christmas. Chrissie also has an excellent recipe for Cinnamon Raisin Bread that not only tastes superb, but also makes your house smells amazing. It’s a no-knead bread recipe, too.


